10 Best Tips for Garage Door Fix Without Professional Help?
When it comes to a garage door fix, many homeowners feel overwhelmed. The thought of repairs often sparks fear of expensive professionals and complicated processes. However, tackling garage door issues on your own can be simpler than you imagine.
Understanding the common problems can help you identify when a DIY fix is possible. From misaligned tracks to faulty sensors, many issues can be resolved without a service call. You just need to have the right mindset and a few tools at your disposal.
In this guide, we explore the top ten tips for a successful garage door fix. Each tip aims to simplify the repair process. You'll learn how to handle tasks you once thought only a pro could do. Make sure to approach each repair with care. Mistakes can lead to bigger problems down the line.
Identify Common Garage Door Problems Before Fixing
Garage doors can experience various issues that may lead to unexpected malfunctions. Spotting the problems early can save time and effort. Common issues include misaligned tracks, worn-out springs, and malfunctioning remotes. Listening for unusual noises can also help you identify underlying problems. A creaking sound often indicates a lubrication issue, while grinding noises suggest serious mechanical troubles.
Examining the door's movement is crucial. If it doesn’t open smoothly, it might be off its tracks. Check the sensors; they could be obstructed or faulty. If the door closes halfway and then reverses, it’s likely a sensor problem. Sometimes, just tightening screws can resolve loose components. Cleaning the tracks can also enhance the door's performance.
Keep in mind, repairs might not always go as planned. Parts can be stubborn to remove. You may face setbacks like dropped tools or unexpected obstacles. It’s important to approach each task with patience and a troubleshooting mindset. Documenting your findings can also be helpful. Write down what works and what doesn’t for future reference. This strategy will make future repairs easier and more effective.
Gather Necessary Tools and Materials for DIY Repairs
When tackling garage door repairs, having the right tools and materials is essential. Research indicates that nearly 70% of DIY enthusiasts face challenges due to inadequate preparation. Gathering necessary tools can significantly boost your confidence. Essential items include a wrench set, screwdrivers, and pliers. These tools make adjustments easier and help fix minor issues like misaligned tracks.
In addition to tools, materials are critical. Lubricants like silicone spray can reduce friction in moving parts. A study by the Home Improvement Research Institute found that regular maintenance can extend a garage door's lifespan by up to 30%. However, some homeowners overlook the need for replacement parts. Having extra springs and cables on hand may save time during an emergency repair.
Not every repair may go smoothly. You might encounter unexpected challenges, like stubborn screws or faulty parts. It’s frustrating when a simple fix takes longer than expected. Flexibility in your approach is key. Always be ready to revisit the initial steps if something goes wrong. Being equipped and prepared enhances your chances, but it doesn’t guarantee perfection. Remember, even seasoned DIYers learn from each repair attempt.
10 Best Tips for Garage Door Fix Without Professional Help
| Tip Number |
Tip Description |
Tools Needed |
Estimated Time |
| 1 |
Inspect the Tracks for Obstructions |
Flashlight, Cleaning Cloth |
15 minutes |
| 2 |
Lubricate Moving Parts |
Garage Door Lubricant |
10 minutes |
| 3 |
Check the Springs for Tension |
Wrench Set |
20 minutes |
| 4 |
Align the Sensors |
Screwdriver |
15 minutes |
| 5 |
Test the Remote Batteries |
New Batteries |
5 minutes |
| 6 |
Tighten Loose Hardware |
Wrench, Socket Set |
25 minutes |
| 7 |
Replace Worn Weather Stripping |
Weather Stripping, Utility Knife |
30 minutes |
| 8 |
Adjust the Limit Settings |
Screwdriver |
15 minutes |
| 9 |
Inspect the Cables |
Protective Gloves |
20 minutes |
| 10 |
Consult the Manual for Troubleshooting |
Owner's Manual |
Variable |
Step-by-Step Guide to Adjusting Garage Door Springs
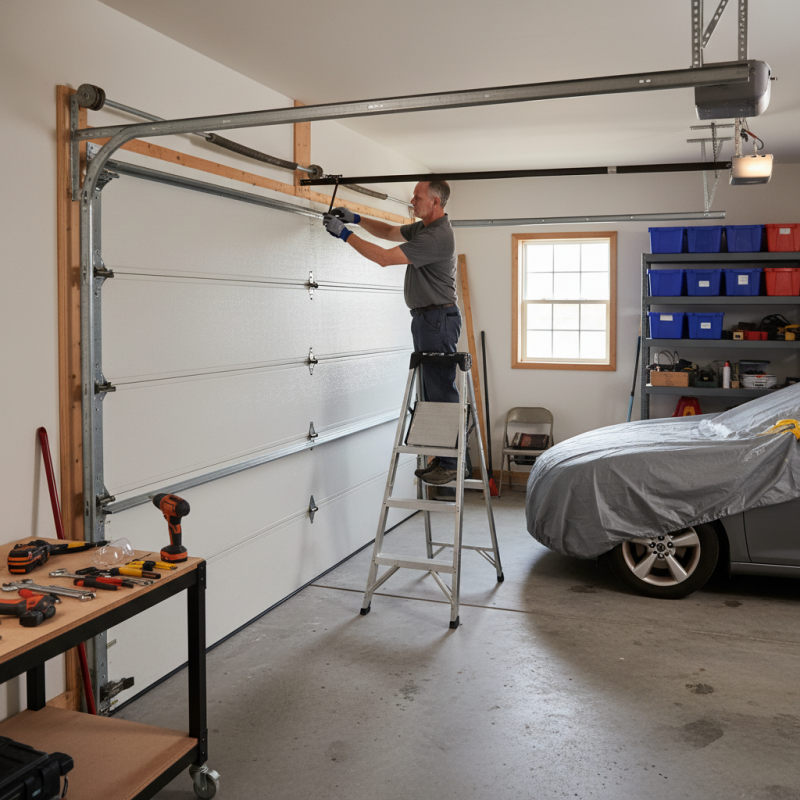
Adjusting garage door springs can seem tricky. However, with patience and the right approach, it’s doable. Start by ensuring the door is closed completely. Then, disconnect the power. Safety is key. If the springs are too loose, the door won’t function correctly. You might need a helper to hold the door in place.
Next, prepare for adjustments. You’ll need a wrench and the correct safety gear. Check the tension of the springs. If it feels off, it is. A few turns may be all you need. Tighten or loosen based on your observations. Just remember, small changes can make a big difference. Proceed cautiously. Sometimes the springs can snap if adjusted too aggressively.
Once you’ve made your adjustments, test the door. It should open and close smoothly. Listen for any unusual noises. If it groans or squeaks, something might still be off. It may take a few tries to get it just right. Reflect on what you could improve next time. Each attempt brings you closer to mastering this skill.
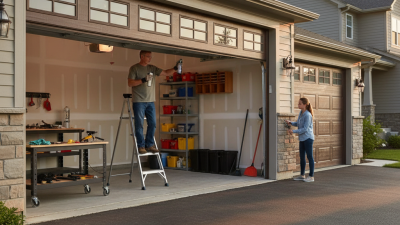
How to Lubricate Moving Parts for Smoother Operation
Lubricating the moving parts of your garage door is essential for smooth operation. Start by gathering some basic supplies. You will need a good lubricant, a clean rag, and a ladder if required. Focus on hinges, rollers, and tracks. Applying lubricant to these parts can help reduce friction. A small amount goes a long way.
Begin at the top of the door. Climb the ladder if necessary. Spray the hinges lightly. Wipe off excess lubricant with a rag to avoid drips. Move to the rollers next. Check for dust or dirt. Clean them before applying lubricant. If rollers are worn or damaged, consider replacing them.
After lubricating, operate the door a few times. Listen for any unusual sounds. If the door squeaks or struggles, it might need further attention. Reassess the condition of all moving parts periodically.
Regular maintenance can help prevent bigger issues. It’s easy to overlook these parts, but consistency is key for longevity.
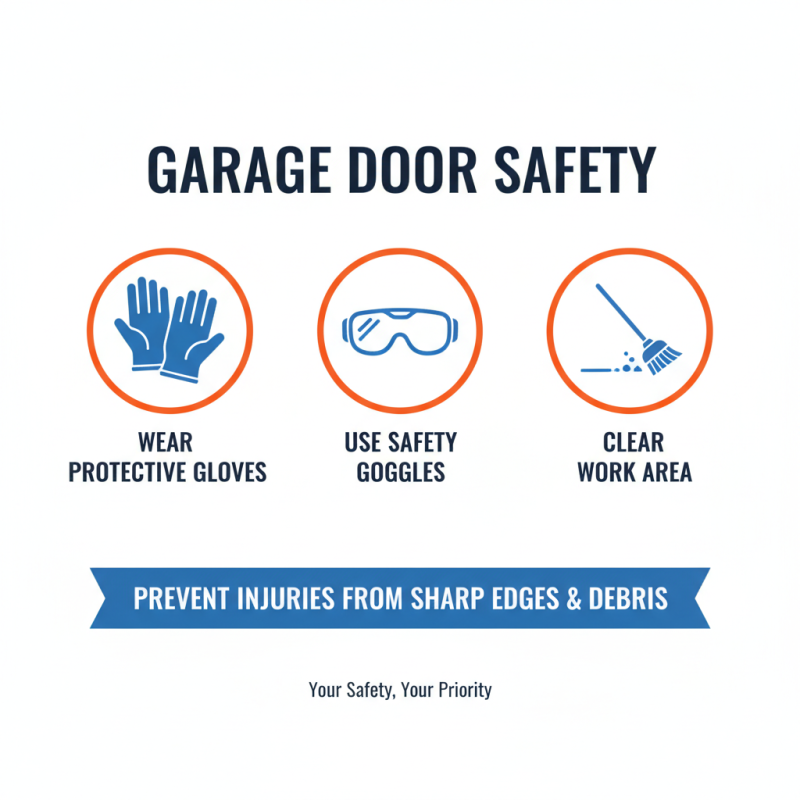
Safety Precautions to Consider When Working on Garage Doors
When working on garage doors, safety should be your top priority. Always wear protective gloves and goggles. These simple items can prevent injuries from sharp edges and flying debris. Ensure the area around the garage door is clear. This avoids tripping hazards while you work.
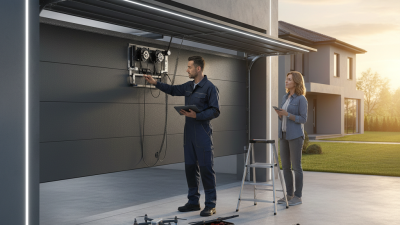
Before starting any repairs, disconnect the garage door opener. This prevents accidental activation. It's common to forget this step, leading to injuries. If you need a ladder, ensure it is stable. A shaky ladder can cause falls, resulting in serious injuries.
When adjusting springs or cables, be cautious. These components are under high tension and can snap. A small mistake can lead to damaging accidents. Use the proper tools to make adjustments more manageable. Sometimes, a stuck door requires a bit more effort. Don't rush. Take your time to observe and fix the issue correctly. Always remember to assess your progress. If something doesn't seem right, take a step back and reconsider your approach.